
Defining Applications
Register application code with TelemetryOS Studio to deploy to devices
Defining Applications
After building and testing application code locally, the next step is defining it in TelemetryOS Studio. This connects the code repository to the platform so it can be built, versioned, and deployed to devices.
Prerequisites
Before defining an application in Studio, ensure the code has been built locally, tested in the TelemetryOS Developer App, includes a valid telemetry.config.json, and has been pushed to a Git repository (GitHub recommended) or packaged as a ZIP archive.
Creating an Application
Navigate to Content > Applications > CREATE APPLICATION in Studio.
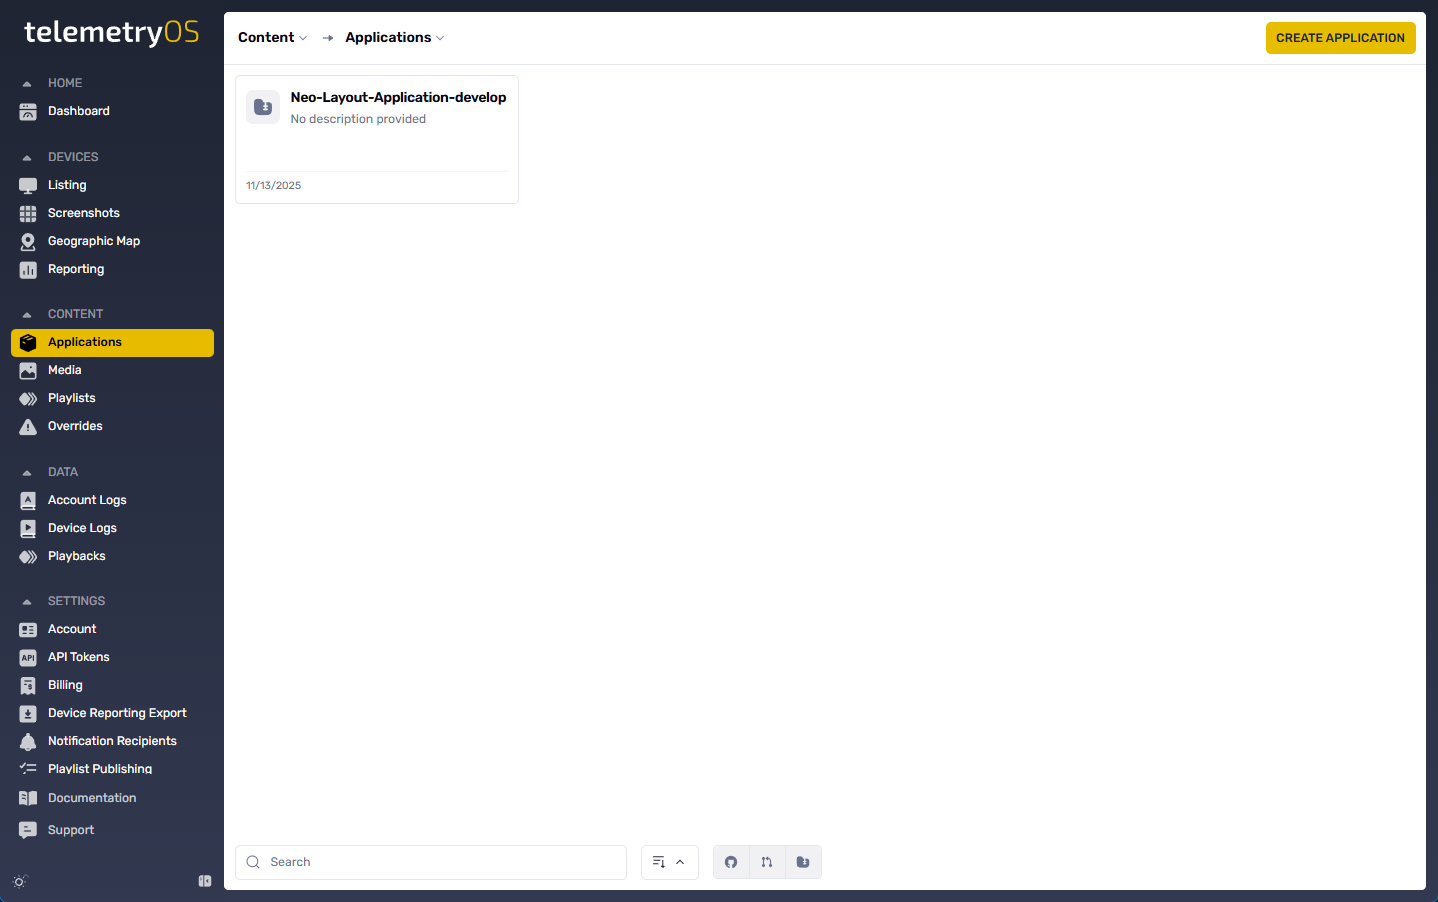
Studio presents three connection methods.
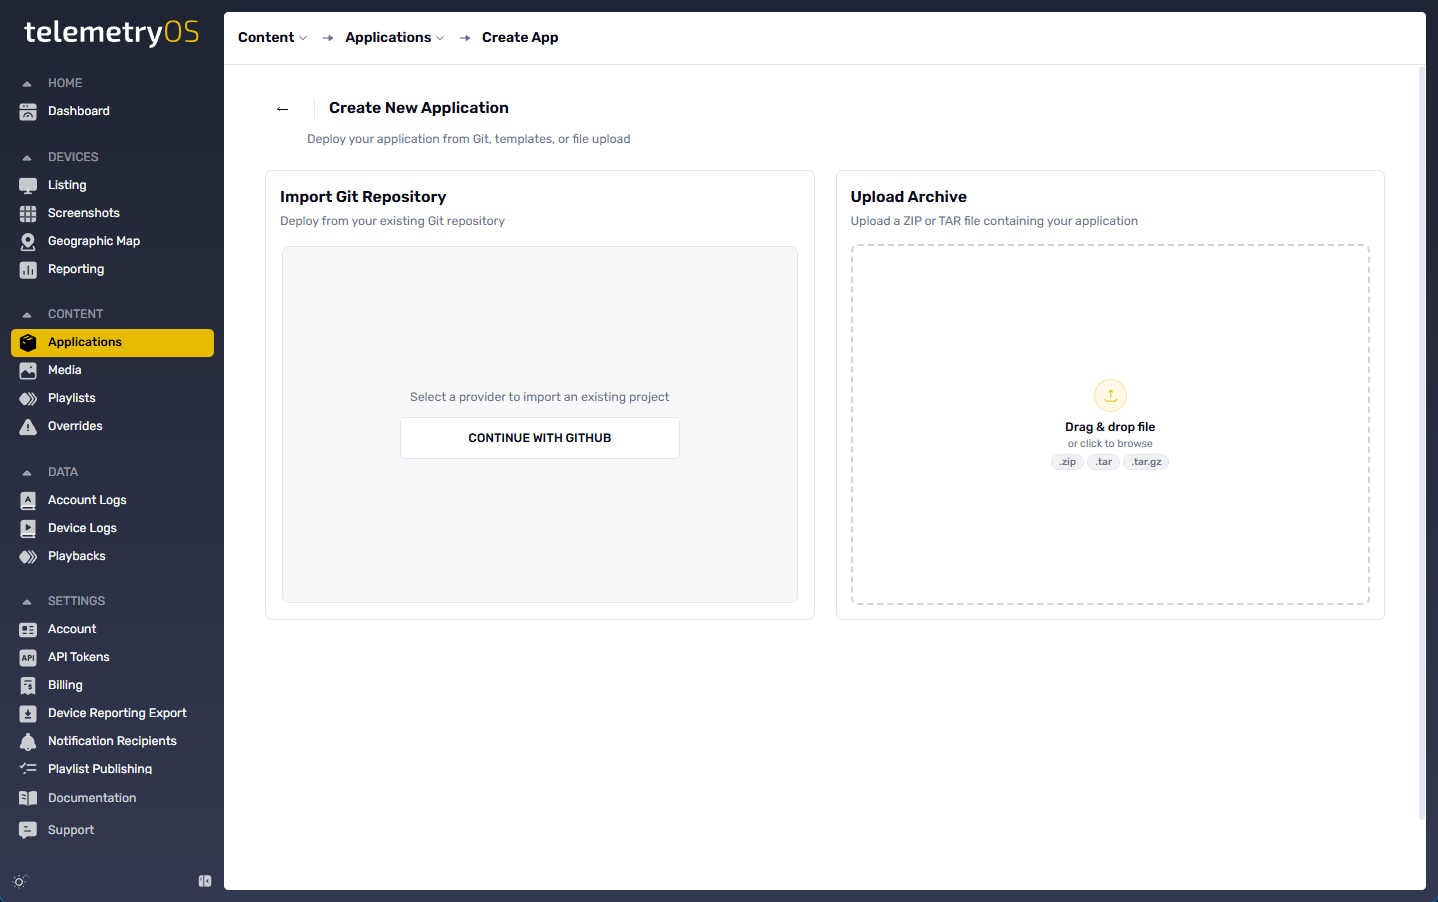
GitHub Repository (Recommended)
Authorize the TelemetryOS GitHub App, select a repository and branch, and the platform auto-detects build settings from telemetry.config.json. Every push to the connected branch triggers a new build automatically. This provides version history, rollback capability, and branch-based deployment for staging and production environments. See GitHub Integration for detailed setup.
Git Repository
Connect any Git provider — GitLab, Bitbucket, or self-hosted — using the repository's HTTPS URL. Private repositories require authentication credentials. The same CI/CD capabilities apply: automatic builds on push, version control, and rollback.
ZIP Upload
Upload a pre-built archive for quick testing, internal applications without source control, or third-party applications. Build the application locally with npm run build and upload the output directory as a ZIP file. See Upload a ZIP File for details. Note that ZIP uploads require manual re-upload for each code change — automatic builds are not available.
Configuration
Regardless of connection method, Studio requires an application name (must match the name field in telemetry.config.json), a version number, and optionally a description.
Build settings — the build command, output directory, and mount points — are auto-detected from telemetry.config.json and package.json for Git-based deployments:
{
  "name": "weather-dashboard",
  "version": "2026.1.0",
  "mountPoints": {
    "render": "/render",
    "settings": "/settings"
  }
}
Mount points tell the platform where to load each component: render displays content on devices, settings provides the configuration UI in the Studio side panel, and optional mount points like web or background (workers) are detected automatically. See Mount Points for details.
Build Process
After connecting the repository, TelemetryOS clones it, installs dependencies, runs the build command, and packages the output. Build progress displays in real time and typically completes in one to three minutes. The first successful build creates version v1.0.0, immediately available for deployment.
Subsequent pushes to the connected branch trigger new builds automatically. Each successful build produces a new version that can be deployed, compared against previous versions, or held back while an older version remains in production.
Deploying to Devices
Applications reach devices through playlists. In the Studio page editor, add the application to a playlist page and configure its instance settings in the sidebar. Each instance can have different settings — for example, the same weather application showing different cities on different screens. Assign the playlist to devices or device groups, and the content appears on screen.
Environment Branching
The Git-based workflow supports environment separation naturally. Connect a develop branch to test devices, staging to QA displays, and main to production. Each environment is a separate application definition in Studio pointed at a different branch of the same repository.
Security
Git-based deployments run in isolated build containers with no access to other customer code. Environment variables and secrets are encrypted at rest — never commit secrets directly to the repository. Instead, configure them in Studio application settings and reference them as environment variables in your build.
Troubleshooting
Build fails: Check the build logs in Studio. Common causes include missing dependencies in package.json, TypeScript compilation errors, an invalid telemetry.config.json, or the build command outputting to an unexpected directory.
Application not loading: Verify that mount point paths in telemetry.config.json match the application's routing, that the built files exist at the specified paths, and check the browser console for SDK configuration or JavaScript errors.
Settings not appearing: Ensure telemetry.config.json includes a settings mount point and that the settings component calls configure() with the correct application name.
Next Steps
- GitHub Integration — Detailed GitHub App authorization and repository setup
- Upload a ZIP File — Archive-based deployment
- Mount Points — Application architecture and component types
- Storage Methods — Data persistence across scopes